
A Guide to Set Primary Monitor at Boot on Your Computer
If you utilize many displays—even if it’s for modern gaming, innovative work, GPU server monitoring, or running an AI image generator—you have probably gone through the problem of your system generally starting up with the incorrect display as the main screen. This scenario can be very irritating, especially if all your icons, taskbar, and boot screen keep displaying on the incorrect monitor.
This comprehensive guide will take you through all the steps to set primary monitor at boot so that your chosen screen is always displayed as the main display when you switch on your computer.
Why Setting the Primary Monitor is Important
When you try to set primary monitor settings properly, you get through:
- Constant workflow: Your applications, taskbar, and desktop icons are always shown on the same screen.
- Improved gaming experience: Games generally open on your chosen display without any type of manual switching.
- Enhanced efficiency: Best for GPU hosting, AI image generator, or GPU server checking dashboards.
- Boot-time clarity: No more chasing for your login screen on the incorrect monitor.
Even if you utilize a GPU dedicated server setup, an advanced Nvidia A100 workstation, or a GPU cluster, setting the main monitor correctly will make your computing life much easier.
Step 1: Check Your Connections
Before you manage any settings, make sure your physical connections are right.
- Classify the ports: Check if your monitor is connected with the help of HDMI, DisplayPort, or DVI.
- GPU preference: If you utilize a dedicated GPU (for example, from GPU4HOST or any Nvidia GPU), link your monitor to the primary output port of the GPU, not the motherboard.
- Cable quality: Utilize a top-notch cable to have a stable signal at boot.
Step 2: Set Primary Monitor in Windows
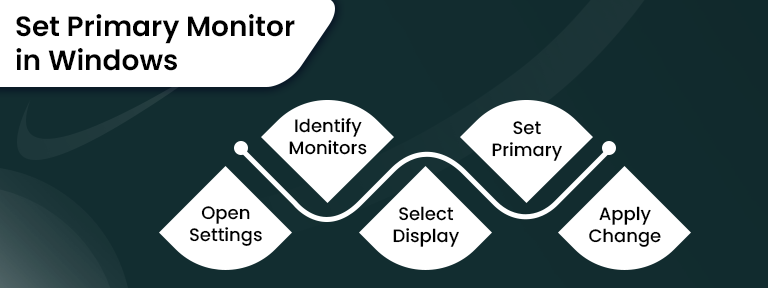
If you are consistently running Windows 10 or Windows 11, here is how to set primary monitor in detail:
- Just right-click on your desktop and choose Display settings.
- Classify your monitors simply by clicking Identify—numbers will be shown on every screen.
- Choose the monitor that you wish to be your main display.
- Simply, scroll down and check the box for Make this my main display.
- Click on the Apply button.
Bonus Tip: If you are working on a GPU dedicated server or a workstation with many GPUs, Windows may reset display tasks after driver updates. Always recheck it properly after installing all the latest GPU drivers.
Step 3: Set Up Primary Monitor in BIOS/UEFI
If your computer boots up showing BIOS or login screens on the incorrect monitor, you just want to set primary monitor at the firmware security level.
- Restart your system and then hold the BIOS key (generally Del, F2, or F10).
- Opt for settings such as Initial Display Output, Primary Display, or Boot Display.
- Choose the GPU and port linked to your chosen monitor.
- Save all the changes and then simply exit.
This is usually necessary if you are running advanced AI GPU setups or GPU clusters, as server boards now default to onboard graphics unless you choose the discrete GPU manually.
Step 4: Utilize the GPU Control Panel
Some of the dedicated GPUs, such as all those from Nvidia, have their individual settings to smoothly control display priority.
For Nvidia GPUs (consisting of Nvidia A100):
- Just right-click on the desktop and go to NVIDIA Control Panel.
- Under the Display option, choose Set up multiple displays.
- Drag the monitor you wish to be primary to the top-left position.
- Then, right-click it and select Make Primary.
- Apply all the settings according to you.
This guarantees that even before Windows completely loads, the GPU knows which monitor to give priority to.
Step 5: Modern Setup for GPU Server and Hosting
If you are running a GPU dedicated server or a GPU hosting environment where many users connect remotely, setting the main monitor helps regulate the environment.
- Linux GPU Server: Utilize xrandr commands to set all display priorities. For instance:
xrandr –output HDMI-1 –primary
- Windows GPU Server: Utilize PowerShell scripts to set the display setup automatically after system boot.
- AI Image Generator Workstations: Keep the core rendering screen as the main monitor for quicker previews.
Step 6: Resolving General Problems
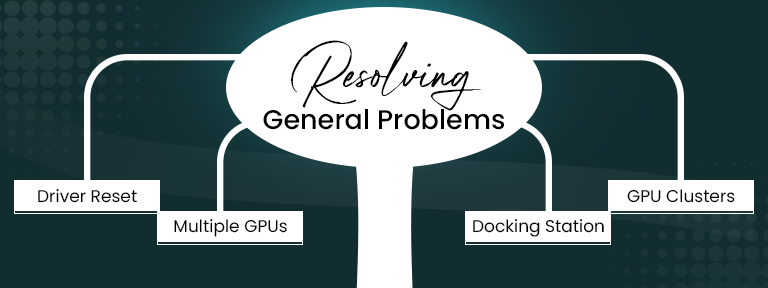
Eventually, your set primary monitor options don’t stick to one. Here’s how to quickly fix it:
- Driver updates reset settings: Reapply your primary monitor setting after every single GPU driver update.
- More than one GPU card: If you have any additional graphics and a dedicated GPU, just disable the added GPU in the time of BIOS for constant boot behavior.
- Docking stations: In the case of laptops, make sure that the dock result is completely mapped as the core display in settings.
- GPU cluster nodes: On servers without monitors, utilize virtual display adapters if you want a particular “primary” screen for remote desktop sessions.
Step 7: Testing the Setup
After managing every single setting properly:
- Restart your PC.
- Turn it back on and check that the boot screen appears on the right monitor.
- At last, log in and make sure your taskbar, desktop, and applications open on the main display.
For all GPU4HOST users or all those who are running AI GPU-based tasks, this ensures smooth startup sequences and keeps your tasks constant.
When to Contact Support
If your system denies saving your primary monitor settings at the time of boot:
- Then, keep in mind that your motherboard BIOS may want an update.
- It could be caused by a damaged cable or GPU port.
- If you’re utilizing a GPU dedicated server from a hosting service provider, simply contact them to manage the remote console display settings.
Conclusion
Learning how to set the primary monitor at boot can save you a lot of time, especially if you depend solely on multi-display setups for complex tasks, modern gaming, or creative tasks.
Even if you are running a home workstation, a GPU hosting, or a GPU server for AI image generator tasks, all the steps mentioned above will help you lock in your chosen display for every new startup.
And think that you’re opting for robust infrastructure for your AI tasks or rendering demands. In that situation, service providers like GPU4HOST provide cutting-edge Nvidia A100-based GPU hosting solutions that make display setup and GPU management a breeze.